
Epoxy flooring creates a sleek and durable surface, perfect for garages. However, achieving that stunning finish requires some preparation. A little elbow grease and planning go a long way. Here’s how to get your garage ready for a successful epoxy flooring project.
Clear Out the Garage
The first step in your preparation is to empty out the garage. Remove all items, including tools, storage boxes, and vehicles. This may seem like a colossal task, but it’s necessary to create a clean slate. Once everything is out, you can see the space you’re working with.
After clearing the area, take the opportunity to sort through your belongings. Discard anything broken or unnecessary. If you’re ready to take your space to the next level, consider this a great time to upgrade your garage with sleek epoxy finishes that are both durable and visually impressive.
Check the Subfloor
Next, assess the garage floor itself. Is it concrete, and how is its condition? Look for cracks, stains, or any uneven areas. Minor cracks can often be patched up, but larger issues may require professional attention.
If your floor has significant damage, repairing it beforehand is essential. Using an epoxy filler can help level out the surface and ensure proper adhesion of the new layer. A solid foundation is key to a long-lasting finish.
Clean Thoroughly
With the space now empty and any repairs made, it’s time to clean the floor. This step cannot be overstated. Dust, dirt, grease, and oil can prevent the epoxy from adhering properly. Sweep the garage thoroughly, then use a degreaser to tackle any stubborn stains.
Once you’ve scrubbed the floor, rinse it well and allow it to dry completely. A clean surface not only enhances the bonding process but also contributes to the overall appearance of your new floor.
Etch the Concrete
Depending on the epoxy product you choose, etching the concrete might be necessary. This process creates a rough surface that helps the epoxy adhere better. You can either opt for a chemical etcher or a mechanical grinder.
If you’re using a chemical etcher, follow the manufacturer’s instructions carefully. Once etched, rinse the floor again to remove any residue and let it dry. If you’re grinding, make sure to vacuum up any dust generated during the process.
Decide on the Epoxy Type
There are various types of epoxy flooring available, each with its strengths. Consider your needs and choose a product that fits.
Some formulations are more resistant to stains, while others may offer a glossy finish. Pay attention to the curing time as well, as some epoxies may need extended periods to set.
Reading reviews and consulting with professionals can guide you in selecting the right epoxy for your garage. It’s a small step that can save you time and effort down the line.
Gather Your Tools and Materials
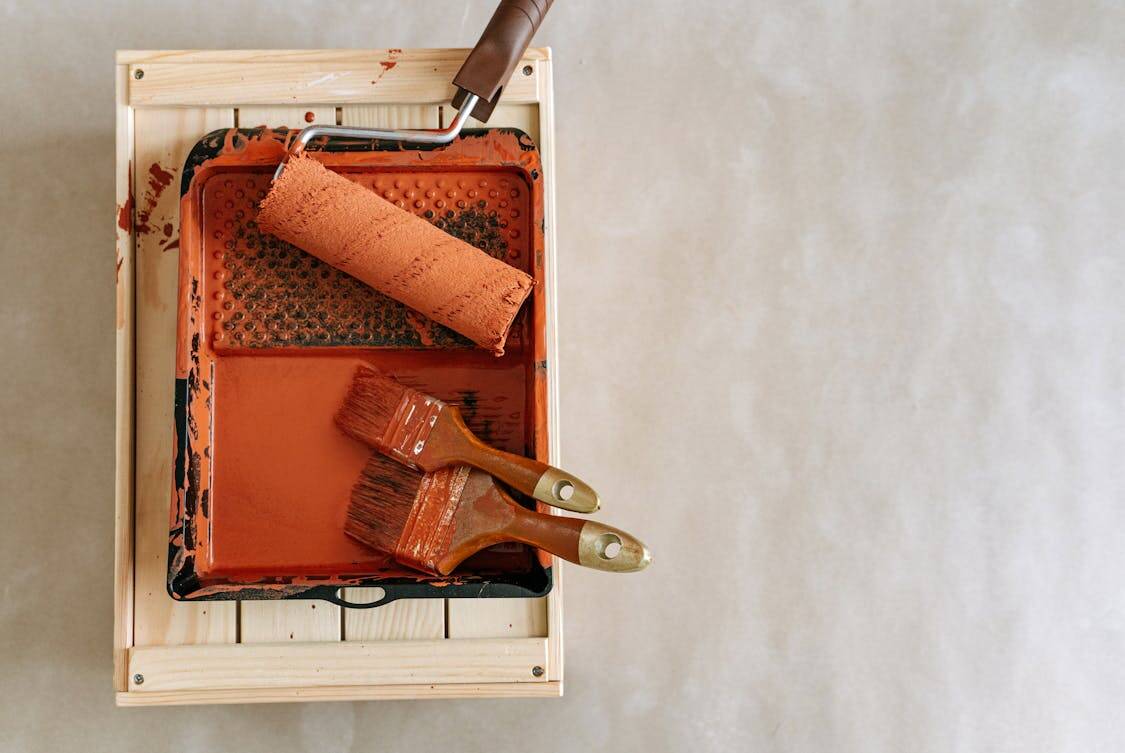
Before starting the application, make a list of all the necessary tools and materials. You’ll typically need:
- A paint roller or squeegee for application
- A mixing paddle for blending the epoxy
- A brush for edges and corners
- Safety gear, including gloves and goggles
Having everything at hand ensures you won’t have to interrupt the process to hunt for missing items. This preparation can dramatically impact the flow of your project.
Plan for Ventilation
Epoxy can emit strong fumes during application and curing. Proper ventilation is vital to ensure safety and comfort.
Open windows and doors, and consider using fans to circulate air in the garage. If your garage doesn’t have natural ventilation, think about using a respirator for protection.
Planning ahead for ventilation can make a big difference, especially if you’re sensitive to chemical smells. Keeping the air fresh will help you work more efficiently.
Prepare for Application
With everything in place, you’re ready for the application phase. Make sure the temperature in the garage is within the recommended range for your epoxy. Too cold or too hot can affect the curing process.
Once the conditions are right, mix the epoxy according to the package instructions. Be mindful of the pot life, which is the time you have before the mixture begins to set. It’s wise to work in sections to avoid any mishaps.
Apply the Epoxy
Start applying the epoxy in one corner of the garage and work your way out. Use the roller or squeegee to create an even layer. For edges and corners, a brush is ideal. Apply the product generously but avoid overdoing it; a little goes a long way.
Keep a steady pace to ensure uniform coverage. It’s better to apply multiple thin coats than one thick layer. This approach enhances durability and appearance. Allow each coat to cure according to the instructions before applying the next.
Consider Adding Decorative Elements
If you want to take your epoxy floor to the next level, think about adding decorative elements. Color flakes or metallic pigments can create a unique look, transforming your garage into a more inviting space.
The application process for these elements is relatively straightforward and can be done while the last coat is still wet.
Keep in mind that while decorative elements add character, they should not interfere with the floor’s functionality. Choose designs that complement your style without making maintenance difficult.
Allow Proper Curing Time
Once you’ve applied the final coat, resist the urge to use the garage immediately. Proper curing time is critical for a durable finish. Refer to the product instructions for the recommended curing period. It may take several days for the epoxy to fully harden.
Patience is key here. Rushing back into the garage can lead to scratches or other damage, undermining all your hard work. Plan your activities accordingly, ensuring you allow ample time for complete curing.
Maintain Your New Floor
After the epoxy has cured, routine maintenance will keep your floor looking great for years. Regular sweeping and occasional mopping are typically sufficient. Avoid abrasive cleaners, as they can scratch the surface.
If you notice any damage, address it promptly to prevent further issues. A little preventive care goes a long way in preserving the beauty and longevity of your new epoxy floor.
Explore Future Upgrades
While you’re investing in your garage, think about other upgrades that can enhance the space. Installing shelving, better lighting, or even a workbench can complement your new floor. These changes can transform your garage into a more functional and organized area.
Planning for future upgrades can add even more value to your space, making it a place you enjoy spending time in. Think of your garage as an evolving space, continually improving and adapting to your needs.
By following these steps, you can set the stage for a successful epoxy flooring project. Preparing your garage properly not only ensures a great-looking finish but also enhances the longevity of the floor.
With a bit of effort, you’ll have a durable and visually appealing garage floor you can be proud of.